Automate Docker builds using Jenkins Pipelines | Dockerize Python App | Upload Images into Azure Container Registry (ACR)
Automating Docker builds using Jenkins Pipelines can greatly improve the efficiency and reliability of the application deployment process…
- jenkins
- docker
- azure
- ci-cd
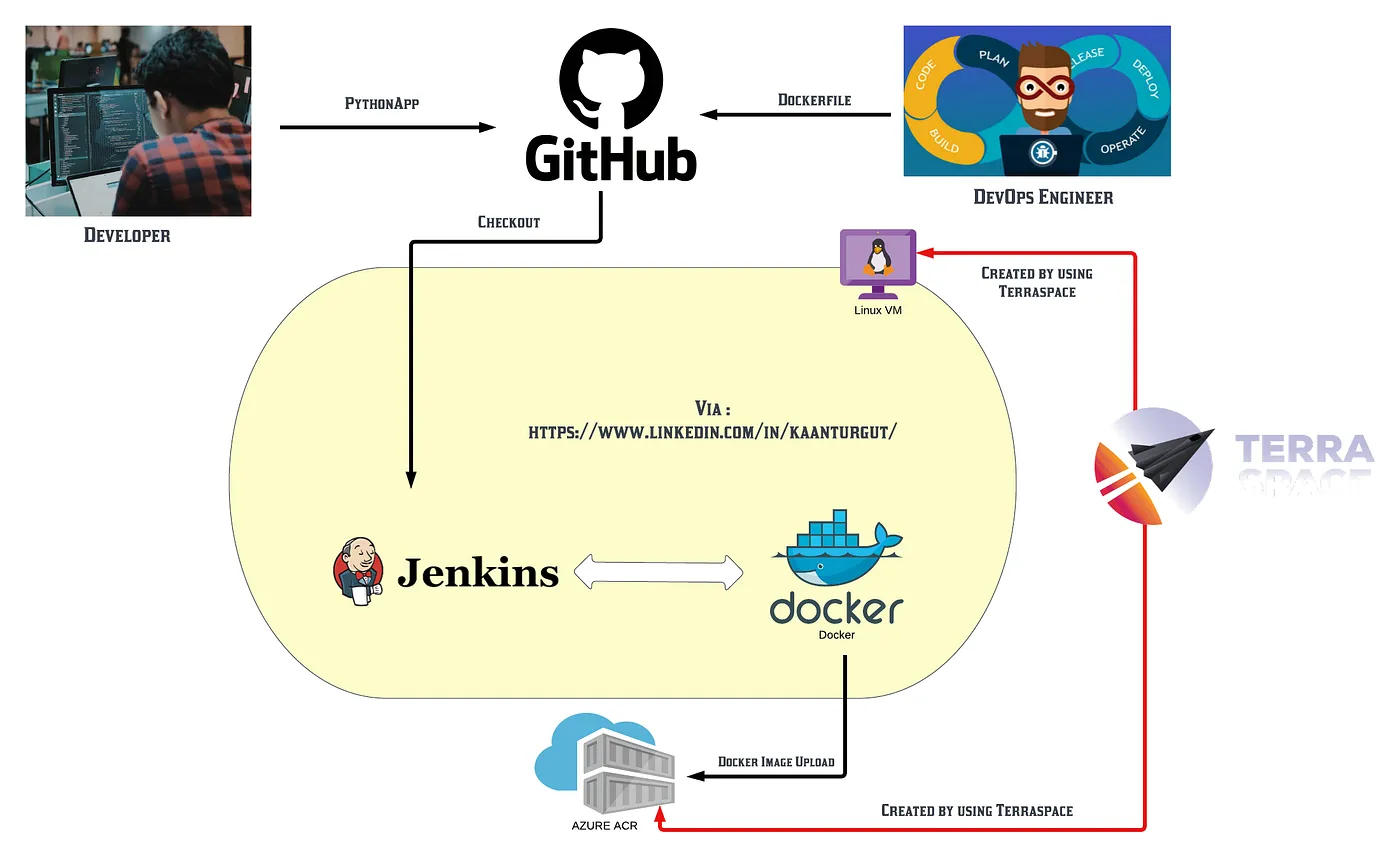
Automating Docker builds using Jenkins Pipelines can greatly improve the efficiency and reliability of the application deployment process. In this overview, we will show you how to utilize Jenkins Pipelines to automate the process of Dockerizing a Python application and uploading its images into Azure Container Registry (ACR). By combining Jenkins’ powerful CI/CD capabilities with Docker’s containerization technology and ACR’s secure and scalable image management, you can streamline your application delivery pipeline and ensure consistent and repeatable deployments. This overview will walk you through the steps involved in setting up Jenkins Pipelines for automated Docker builds, Dockerizing a Python app, and uploading its images to ACR.
Steps
- Creating a Linux virtual machine with Terraspace
- Creating an Azure Container Registry with Terraspace
- Installing Docker in the Linux virtual machine
- Installing Jenkins from a container in the virtual machine
- Building the image using the Jenkins Pipeline and deploying it to ACR
- Running a container from the image to provision the Python application.
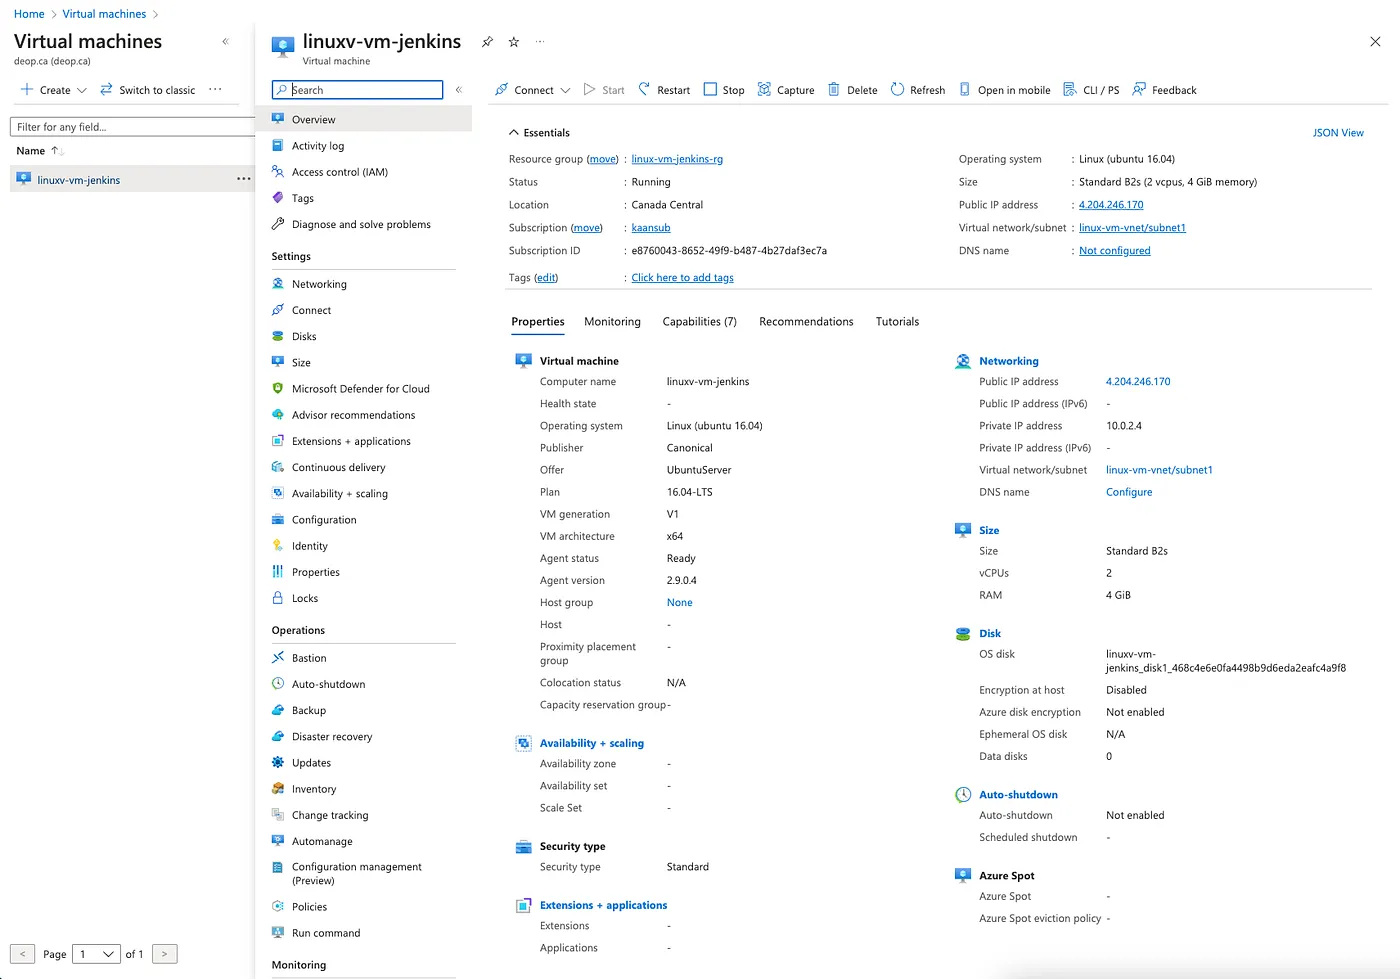
1 — Create the Linux Vm with Terraspace

SUCH A FAST DEPLOYMENT , ISN’T IT?
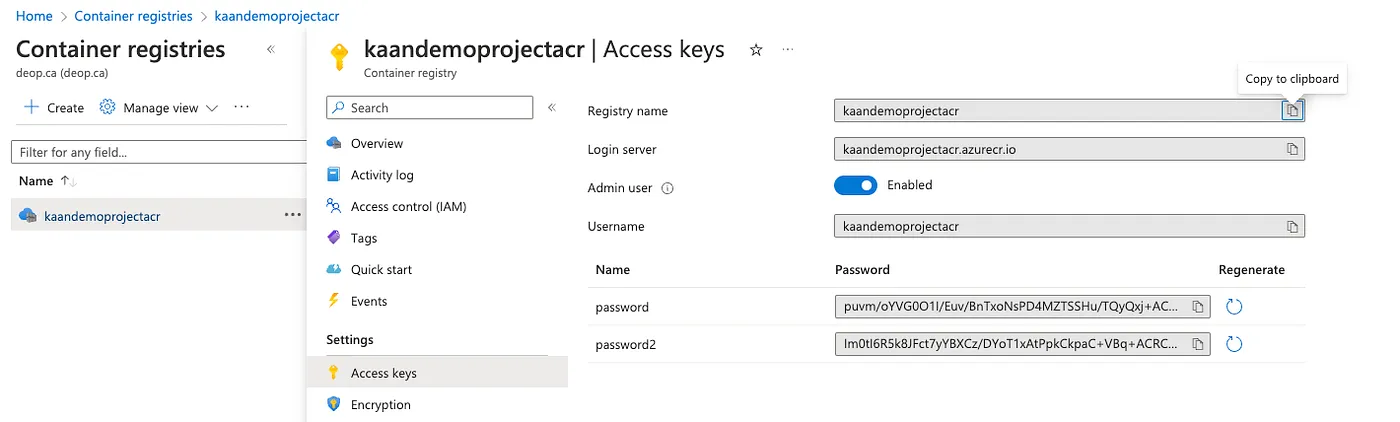
2- Creating a ACR with Terraspace
- Connect to the VM by doing [ssh username@vm_public_ip] and then punch in the password to login.
3- Installing Docker into the Linux Vm
Step 1: Update the apt cache.
sudo apt-get update -yStep 2: Add the GPG key.
curl -fsSL https://download.docker.com/linux/ubuntu/gpg | sudo apt-key add Step 3: Add the docker apt repository.
sudo add-apt-repository \ "deb [arch=amd64] https://download.docker.com/linux/ubuntu $(lsb_release -cs) stable"Step 4: Update the apt cache again.
sudo apt-get update -yStep 5: Install all docker components.
sudo apt-get install docker-ce docker-ce-cli containerd.io -yStep 6: Verify the Docker installation
sudo docker version4- Installing Jenkins from a container inside the VM
Clone Github Repository which includes Dockerfile of the Jenkins image by doing :
git clone https://github.com/hkaanturgut/Automate-Docker-builds-using-Jenkins-Pipelines-Dockerize-Python-App-Upload-Images-into-Azure-Con/tree/main/jenkins-nodejs-imageHow to build Jenkins?
docker build -t jenkins-nodejs-dind .How to run Jenkins?
docker run -p 8080:8080 -p 50000:50000 -d --restart=on-failure -v /var/run/docker.sock:/var/run/docker.sock -v $(pwd)/datadir:/var/jenkins_home --name jenkins-nodejs-dind jenkins-nodejs-dindHow to monitor Jenkins?
docker logs -f jenkins-nodejs-dind- In order to unlock the Jenkins , administrator password needs to be entered. You can see your password by going to :
docker exec jenkins cat /var/jenkins_home/secrets/initialAdminPassword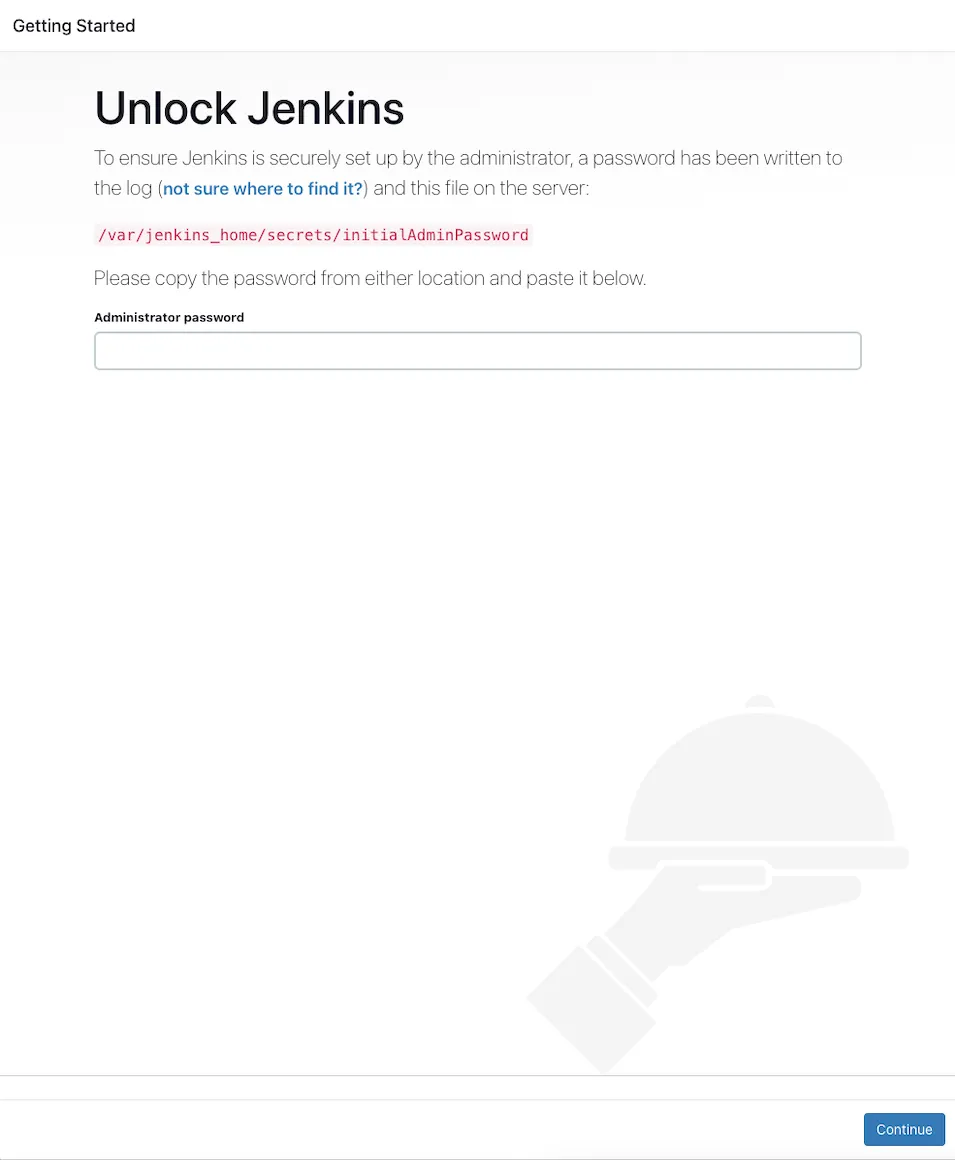
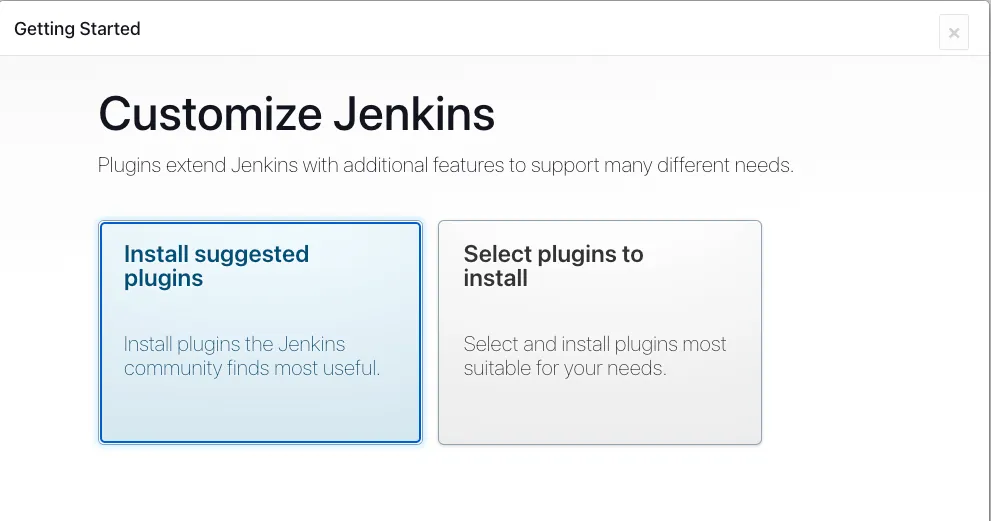
- Install suggested plugins!
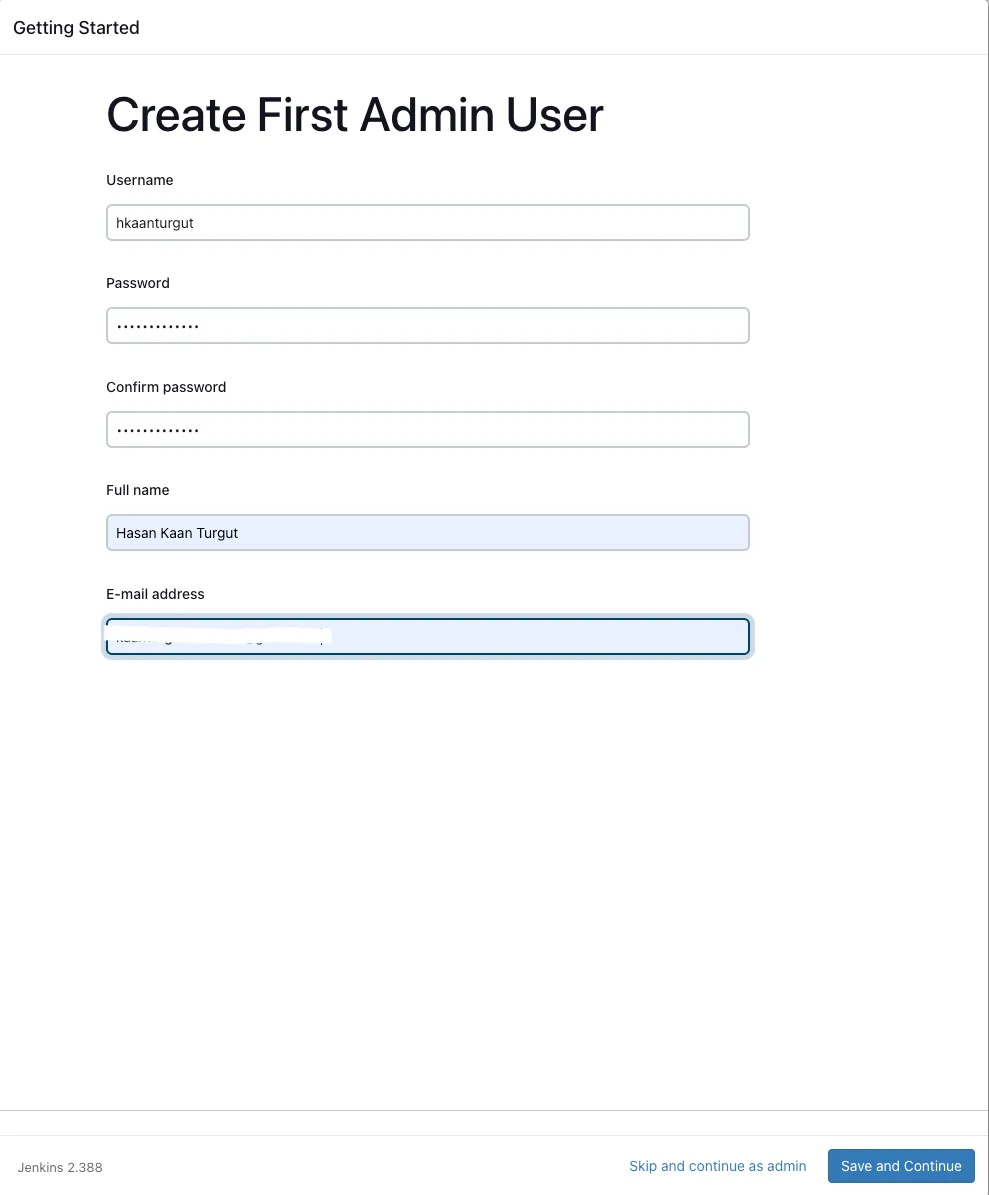
- Create your admin credentials
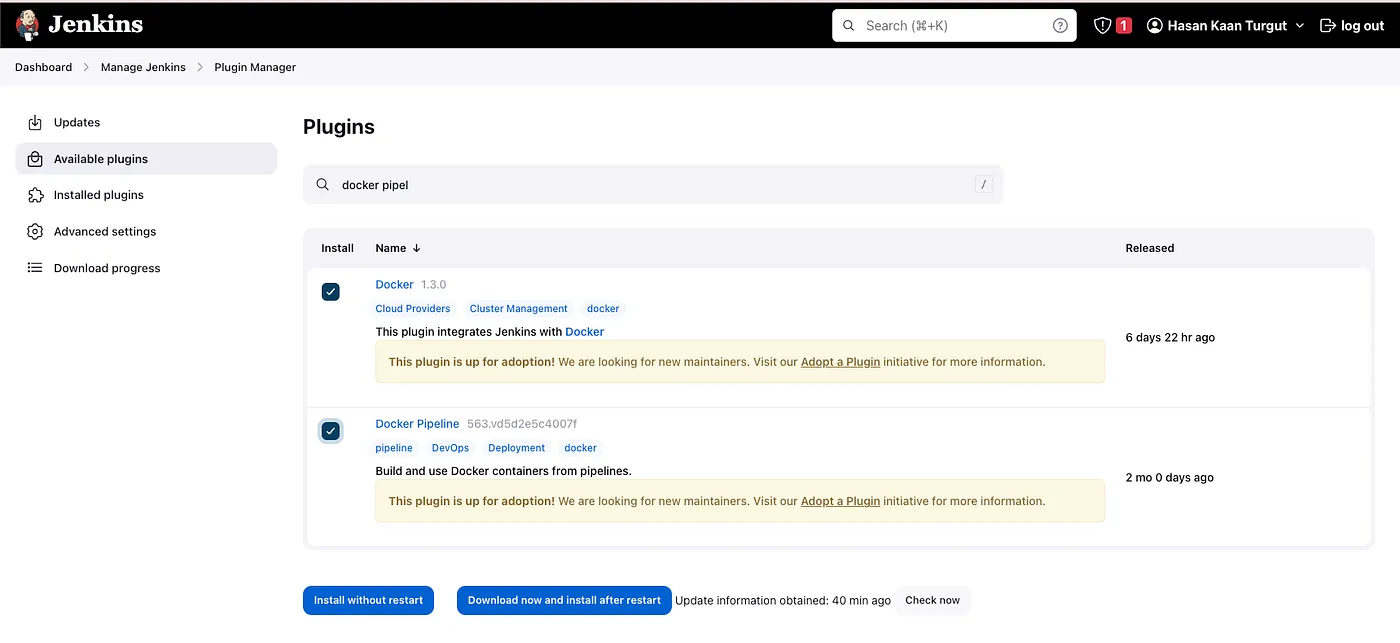
In order to be able to containerized our app , we need to install Docker plugins for our Jenkins.
- From Dashboard > Manage Jenkins > Plugin Manager > Available Plugins > type Docker and select these two plugins > Install without restart
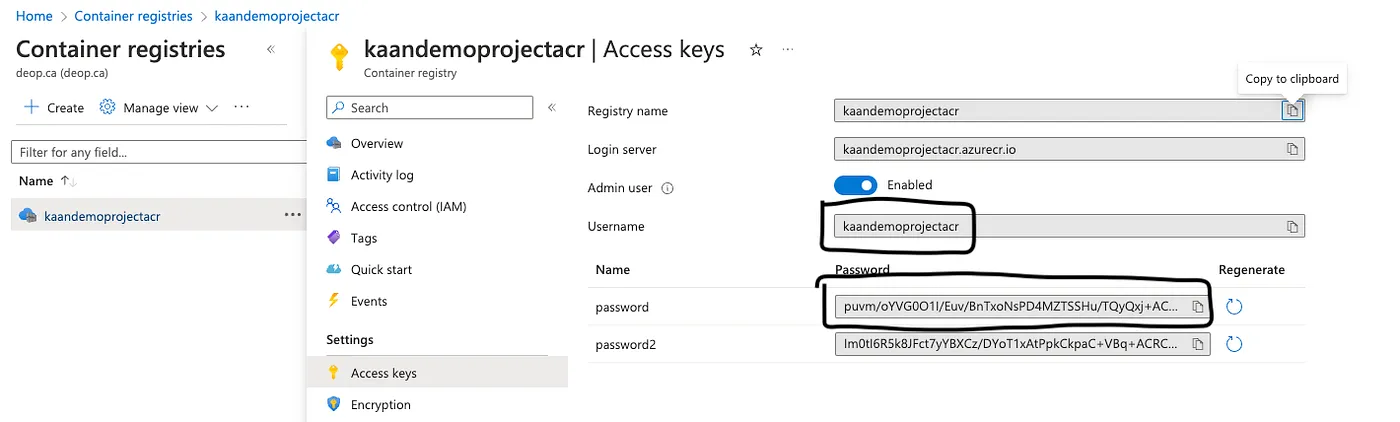
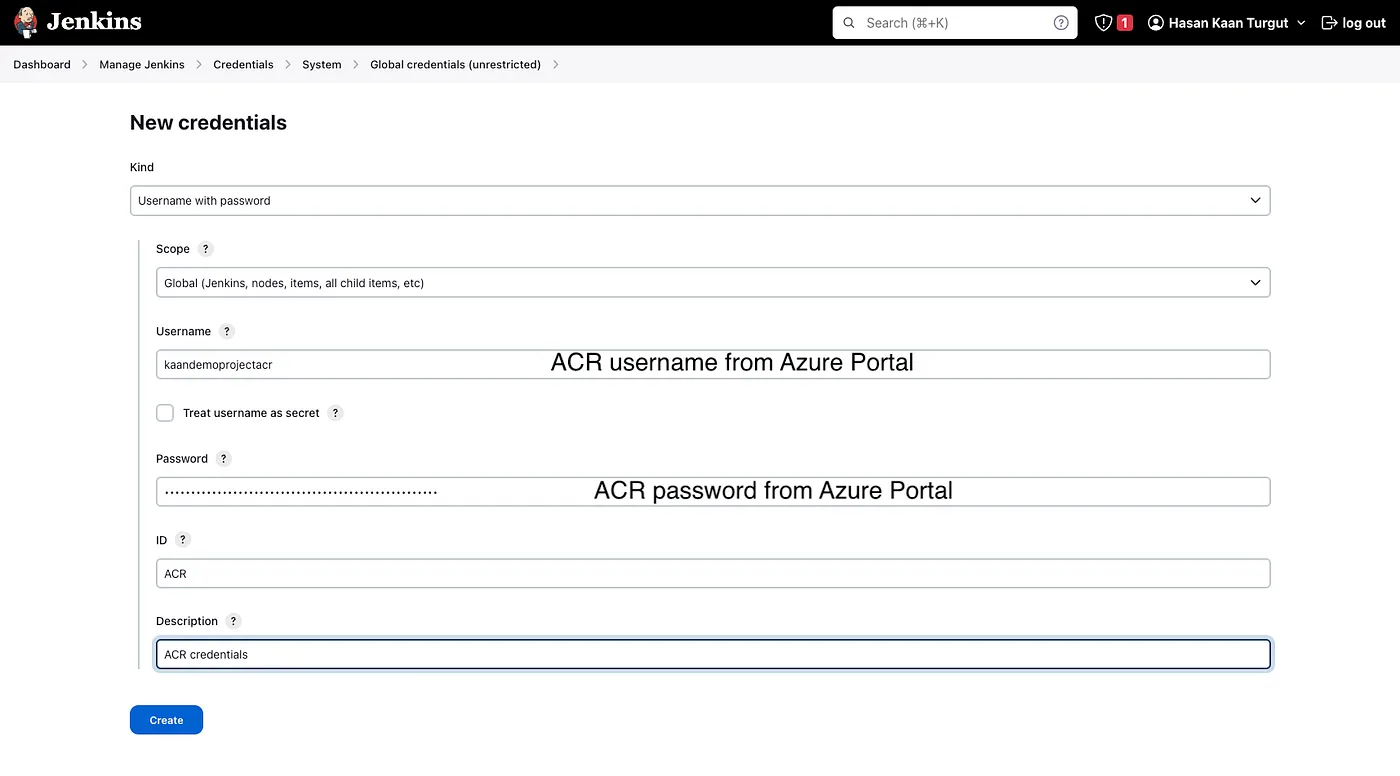
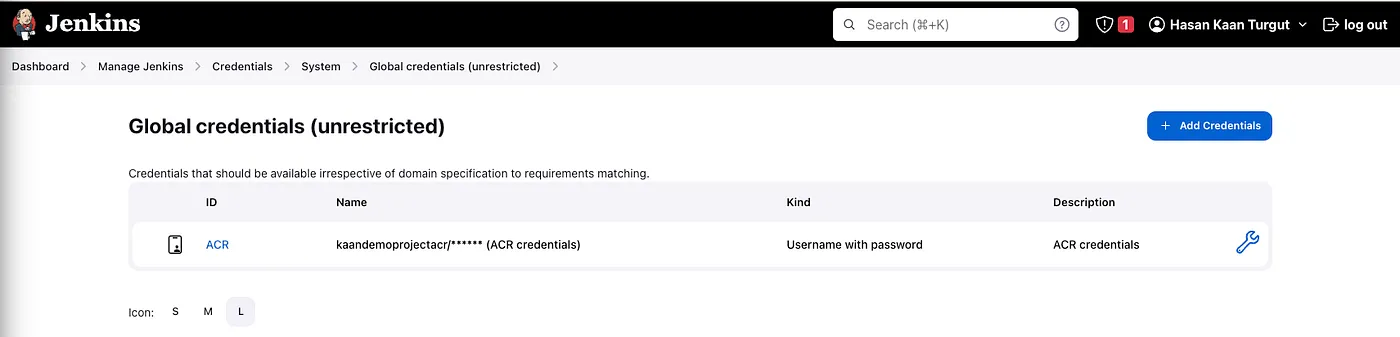
To be able to deploy our image to ACR , we need to connect our Jenkins with our ACR by adding credentials of ACR
- From Dashboard > Manage Jenkins > Credentials > System > Global Credentials > Add credentials
ACR credentials from Azure Portal
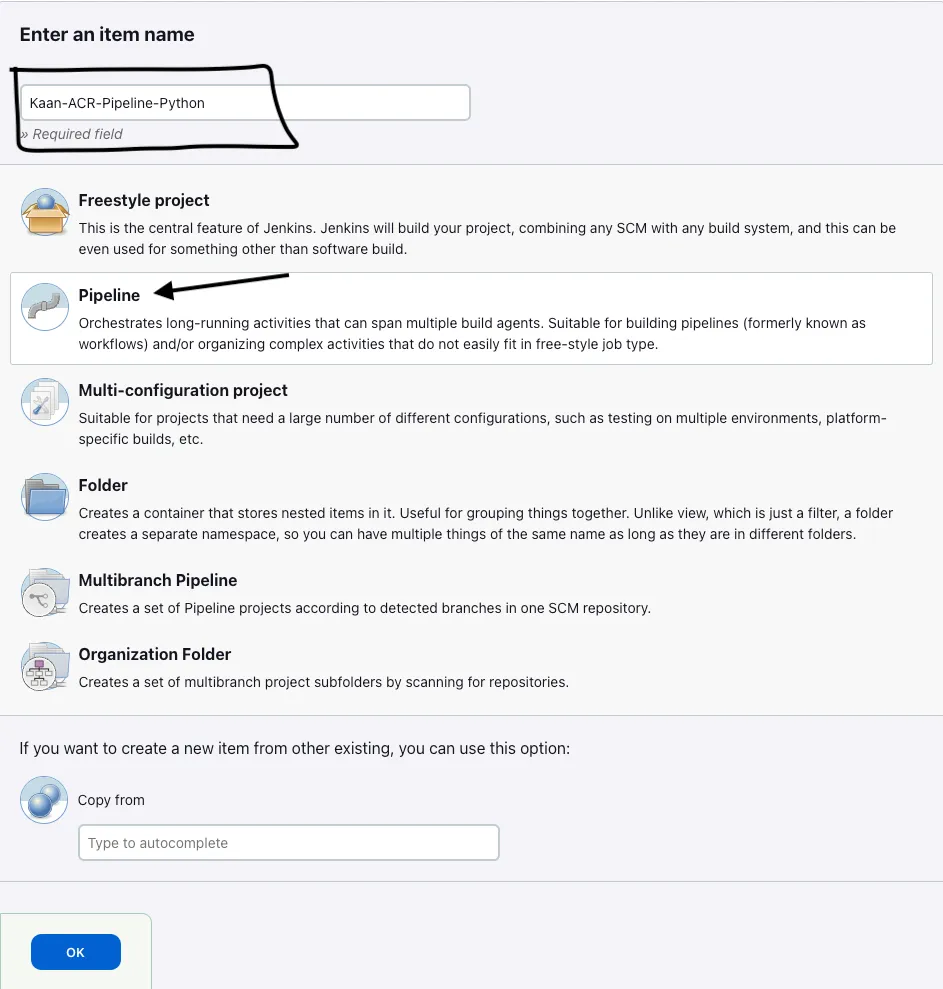
5- Its time to create our pipeline. Create pipeline > enter a name > Select Pipeline > OK
- To make the Jenkins check out our app code , checkout stage is necessary. Can do it by following the images :
You can access the pipeline script from >>> Jenkinsfile
Go to > [ Pipeline Syntax ] > Paste your GitHub Repo link > Choose your branch > Generate your pipeline script and copy it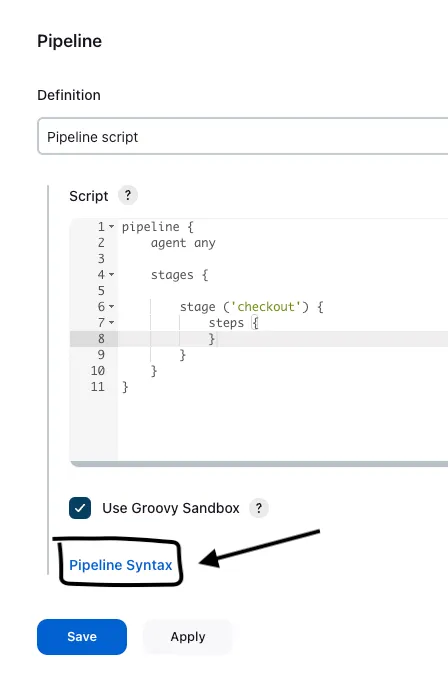
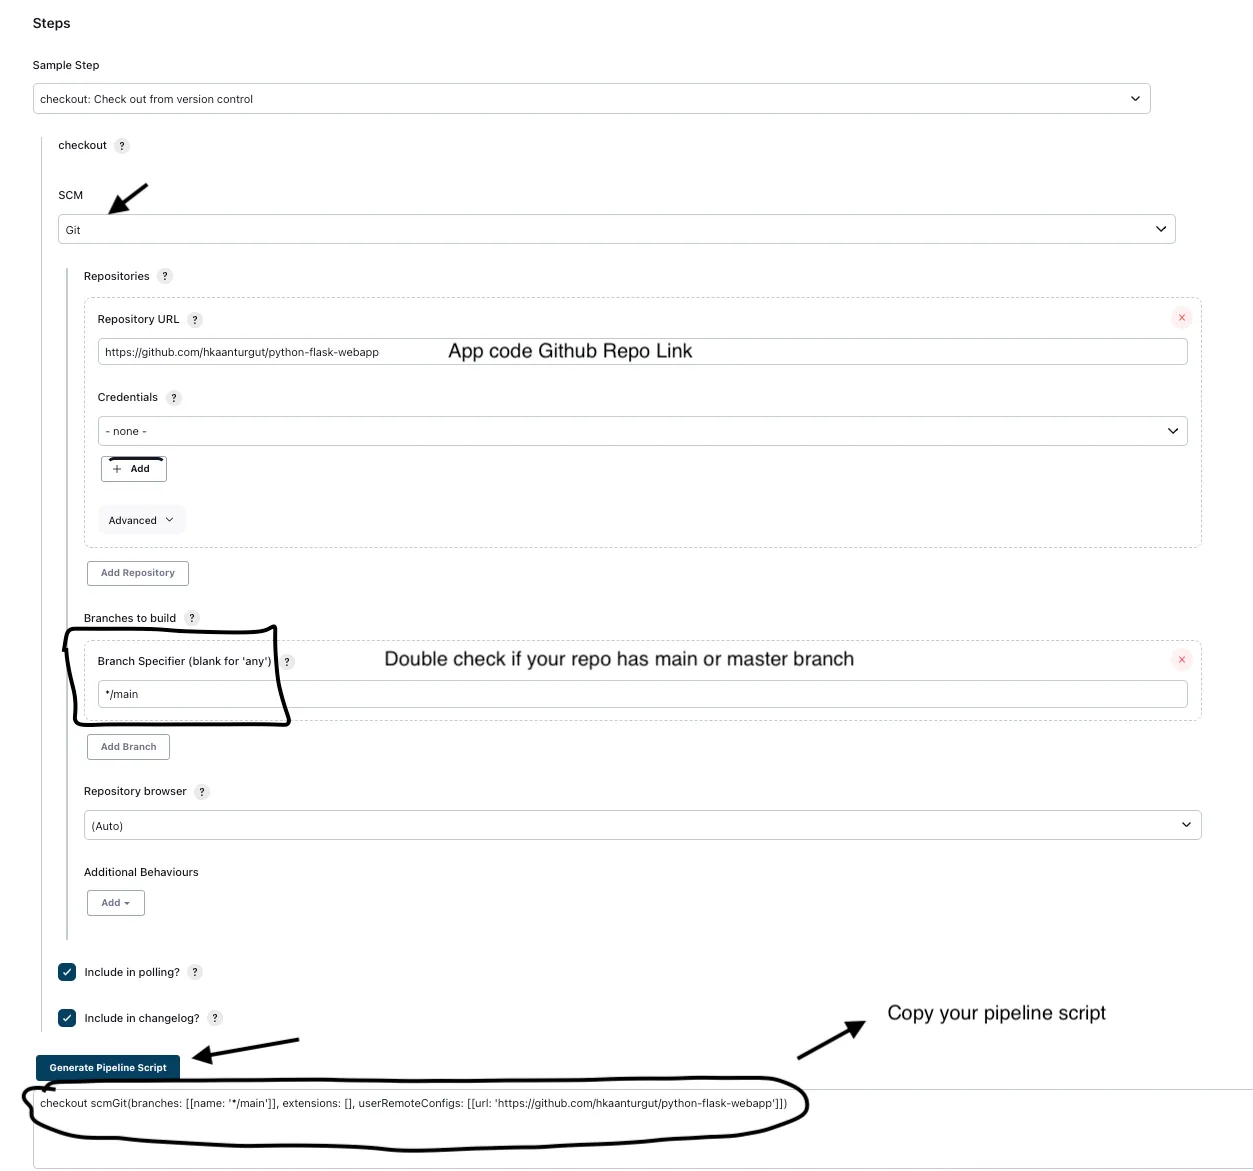
- Paste the script under checkout stage
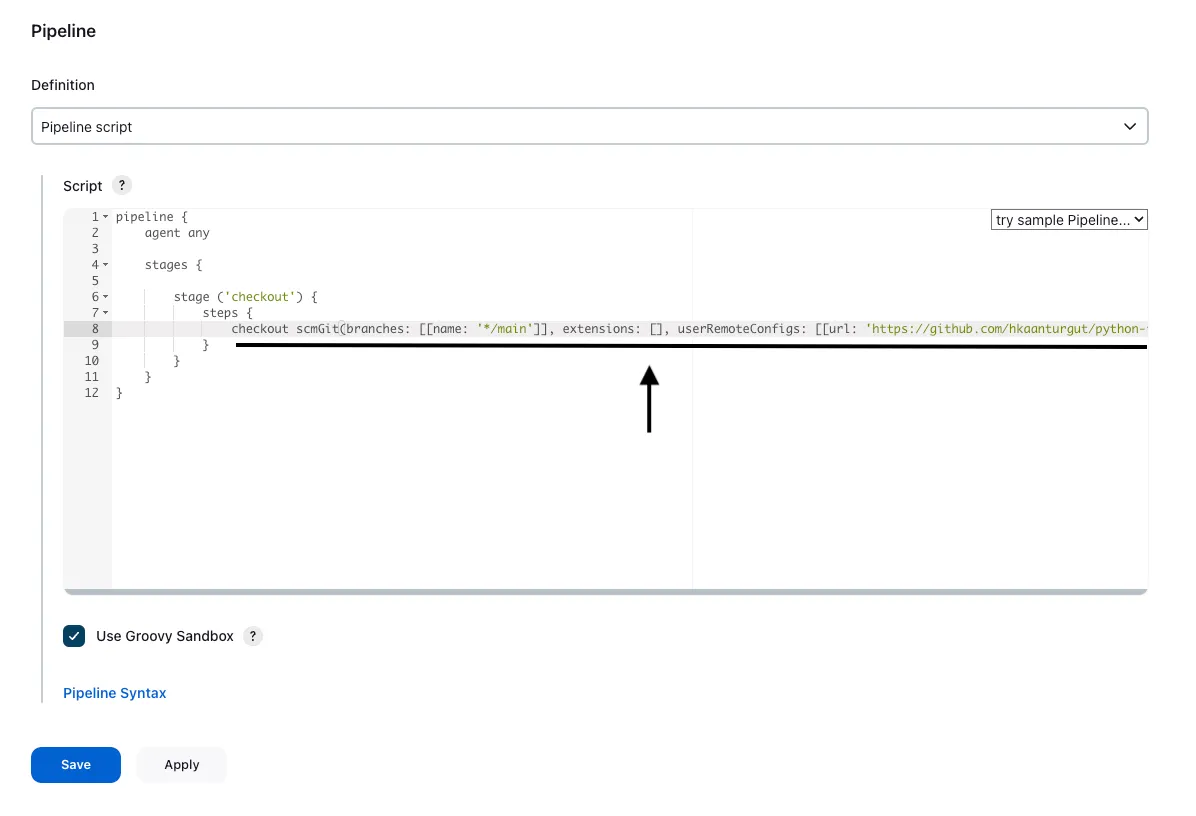
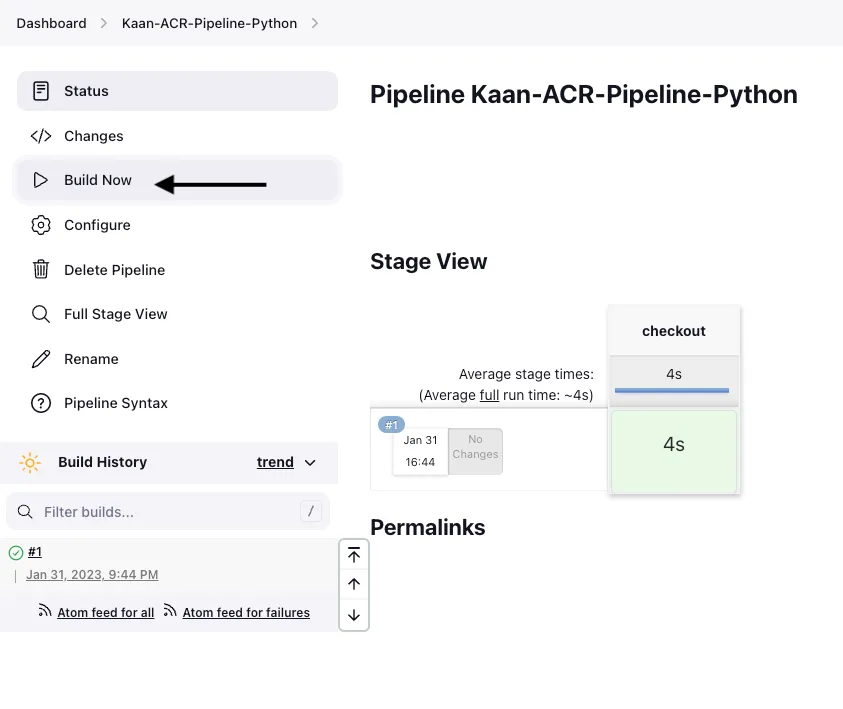
- Click > Build Now > Checkout successful
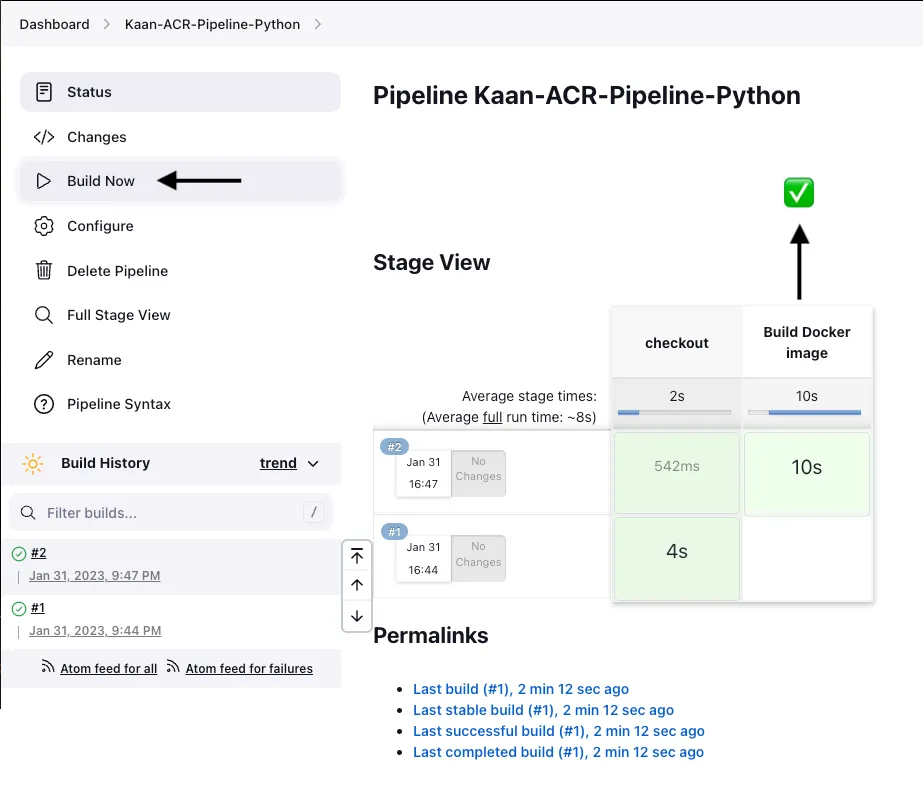
- In order to build our image , add image build stage
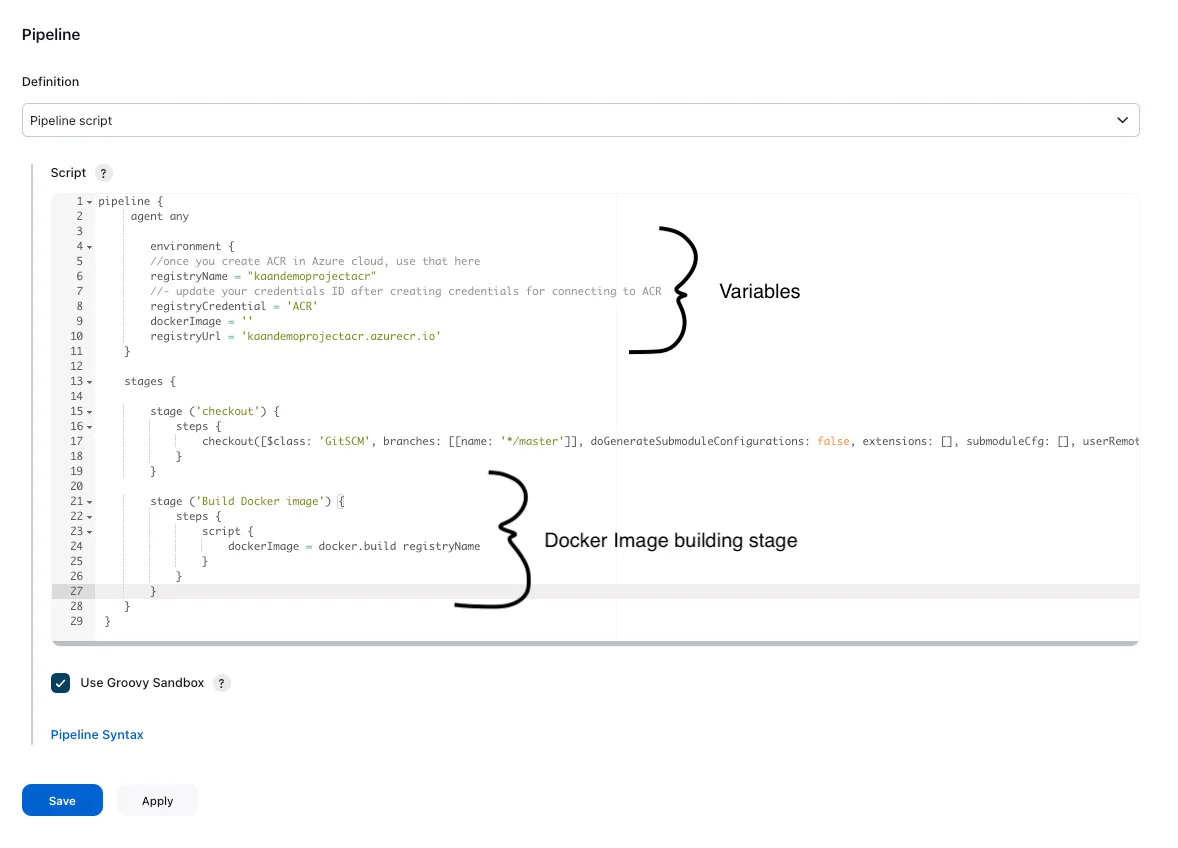
- Click > Build Now > Image build stage is successful
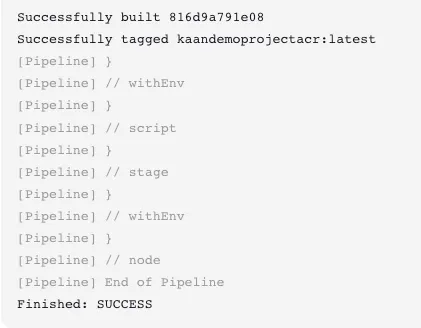
- We can see the stage output
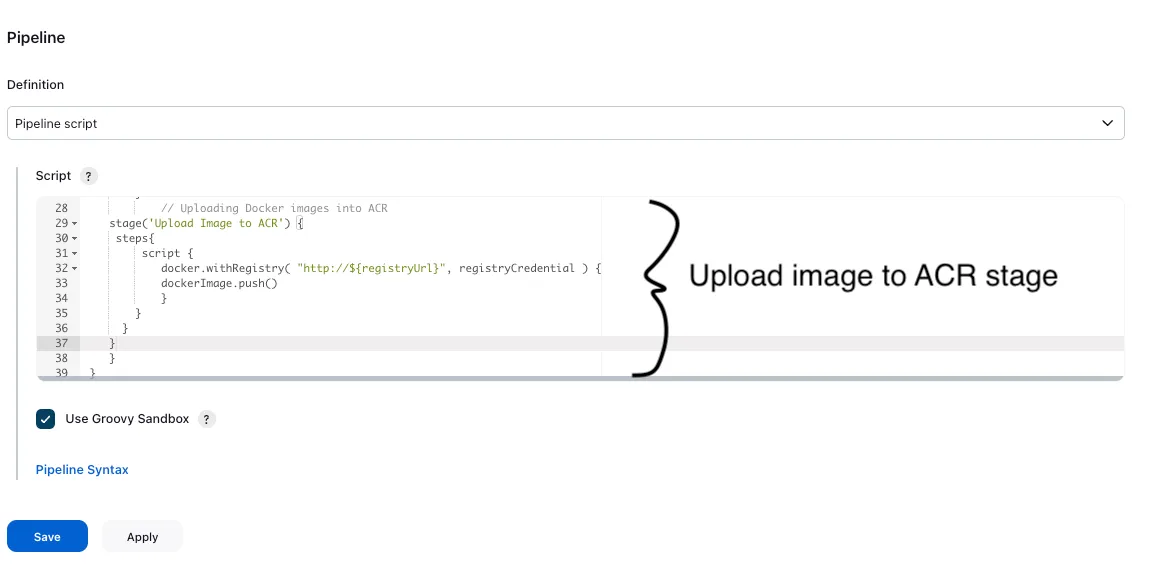
- In order to upload the image to ACR , add another stage
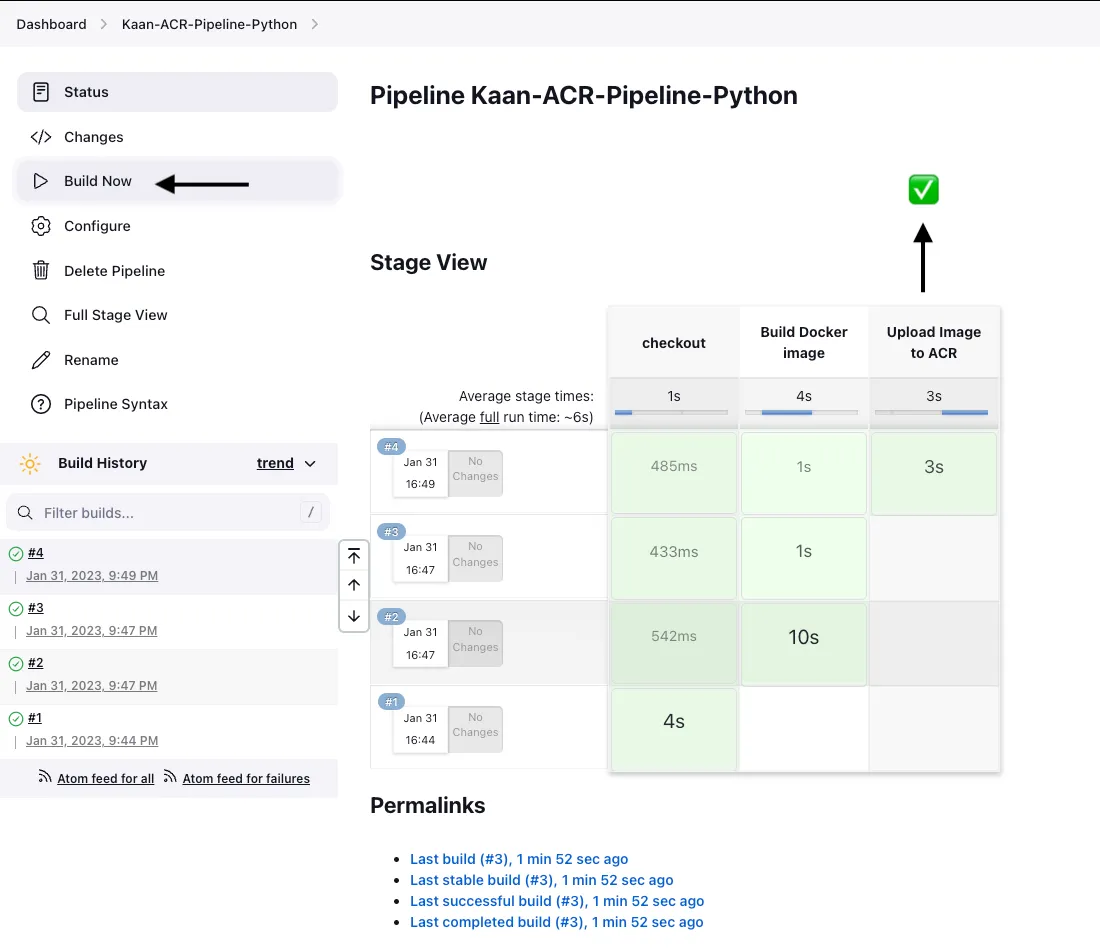
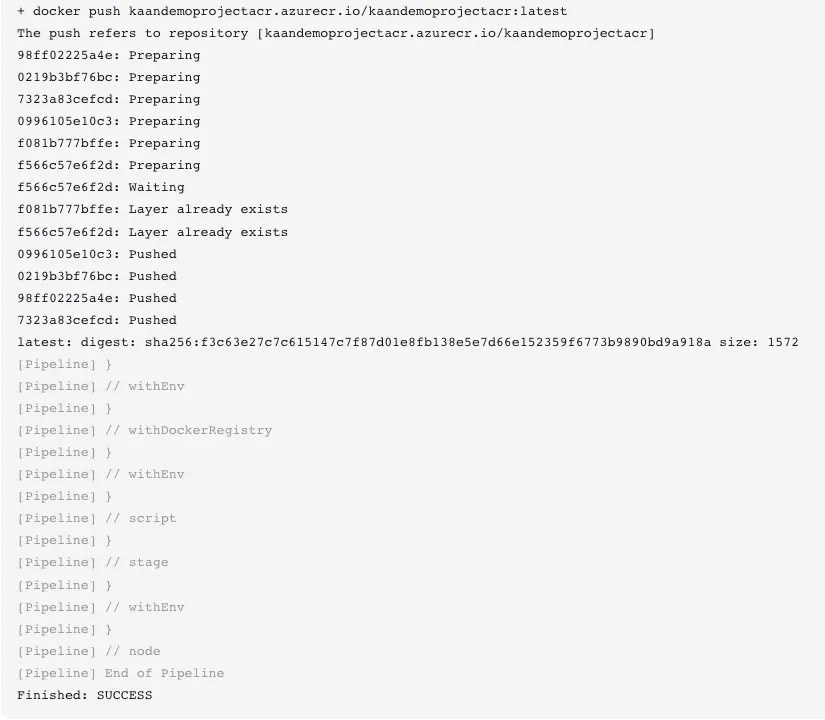
- Click > Build Now > Image has been successfully pushed to ACR
- We can see the stage output
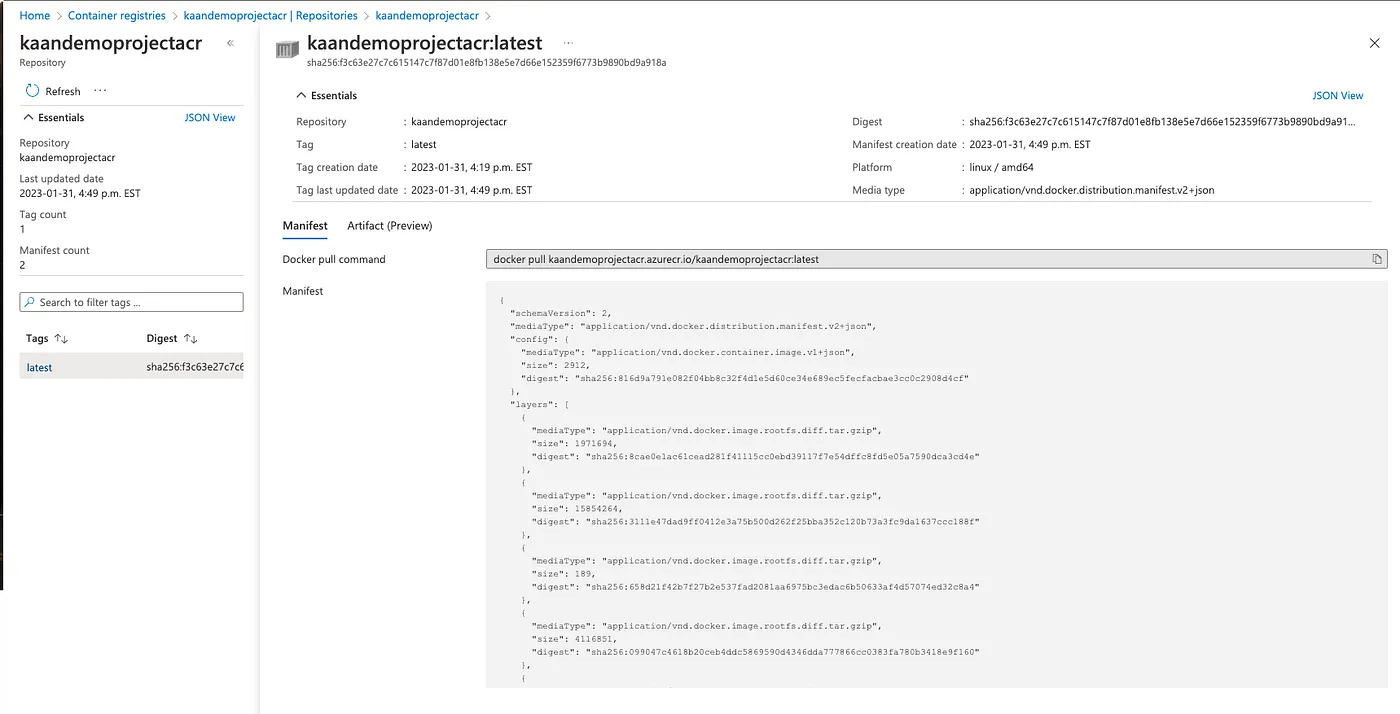
Check the image from ACR
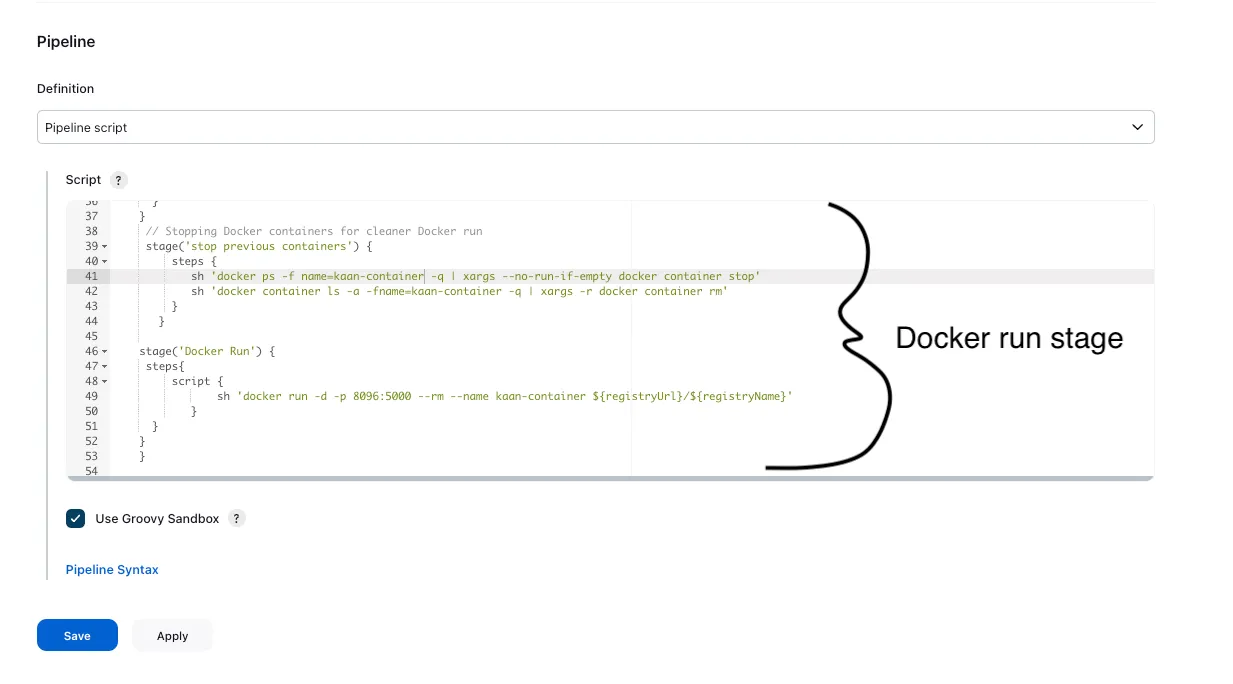
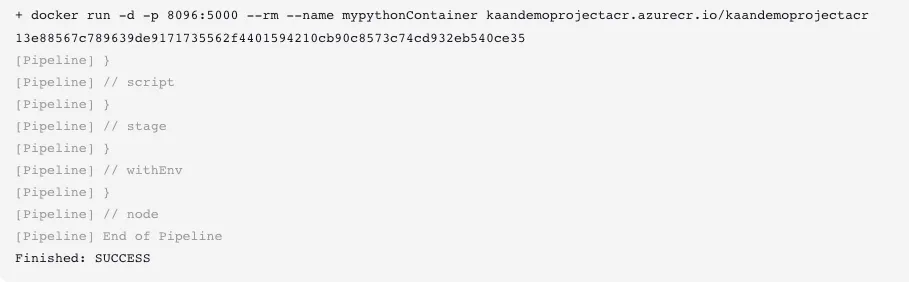
- In order to run our container with the image , add another stage
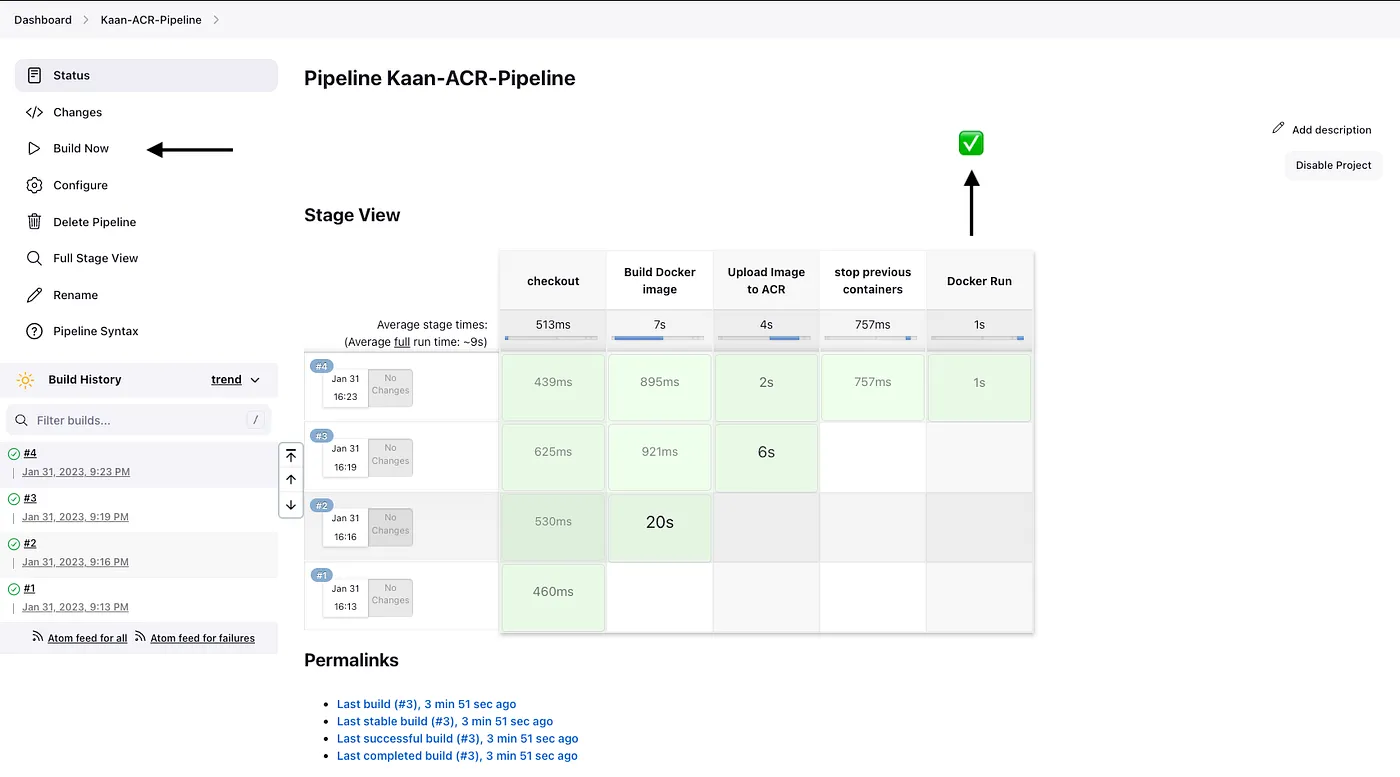
- Click > Build Now > Container is running successfully and our app is working on [ linux_vm_public_ip:8096 ]
- We can see the stage output
Once build is successful, go to browser and enter http://linux_vm_public_ip:8096
- My app is working as it should be